
Can you do a cold plunge at home?
If you’ve ever explored recovery methods and tools, you’ve likely come across cold plunge tubs and ice baths. While few people relish the idea of sitting in freezing water, many endure it for its potential benefits, such as muscle recovery and reduced inflammation. However, cold water therapy offers many advantages but can be costly. Simple ice baths can get pretty expensive, and high-end cold plunge kits with filtration systems and ozone generators can cost several thousand dollars. This might lead you to consider creating your own DIY home cold plunge.
Fortunately, you’re in the right place. I’ll share some cost-effective DIY cold plunge ideas, saving you a significant amount compared to commercial options. Let’s look at some major DIY concepts step-by-step and suggest alternatives if you’re still unsure about setting up your cold plunge.
Let’s dive in and learn how to make your own cold plunge.
What Is a Cold Plunge Tub?
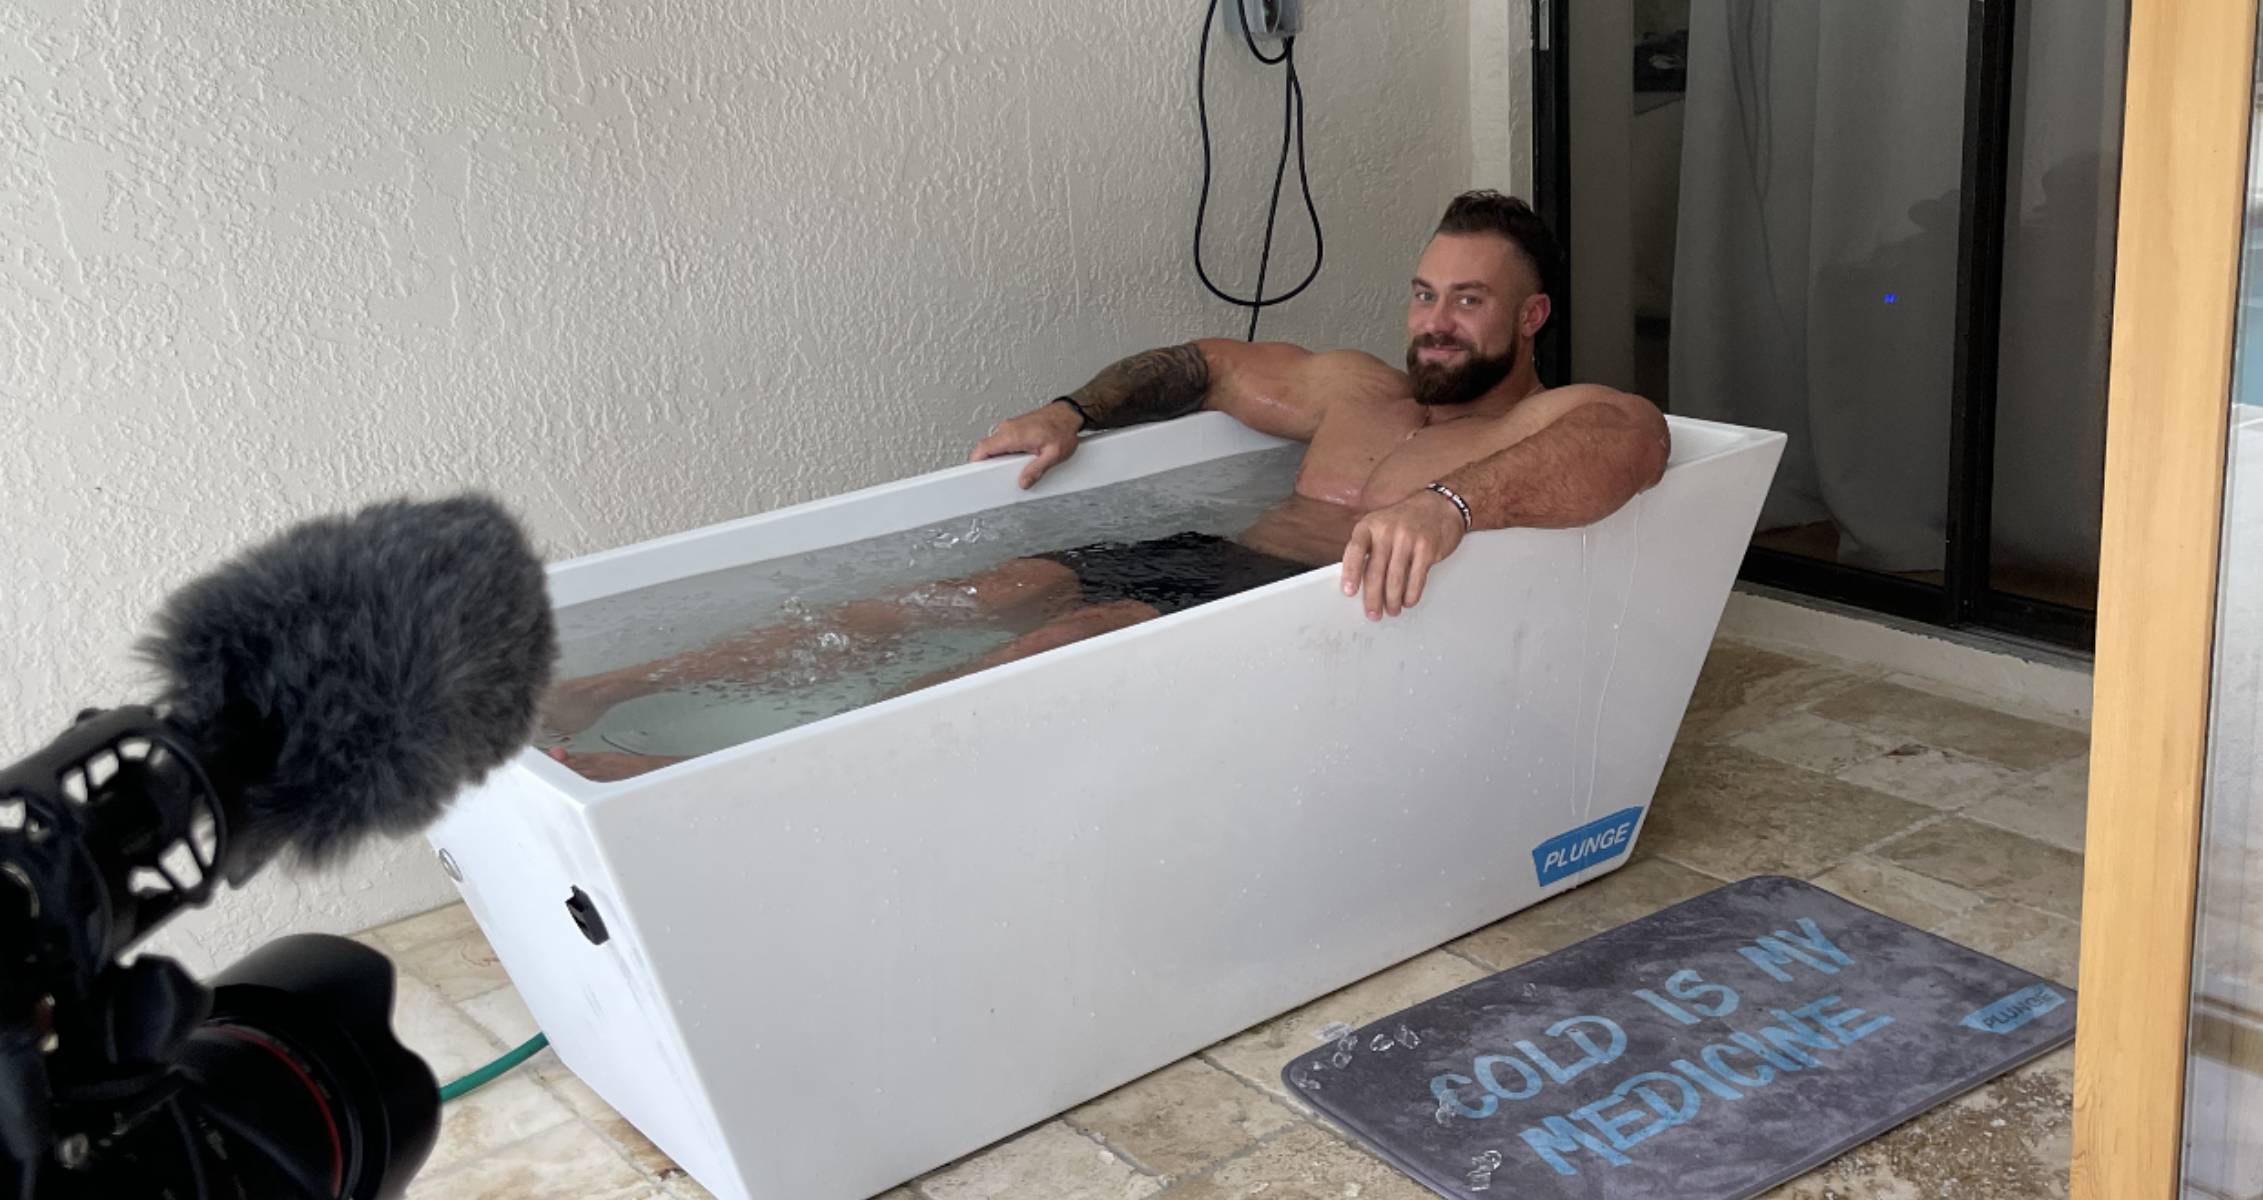
A cold plunge tub, also known as an ice bath, is used by athletes and gym-goers for recovery, similar to home saunas. Typically, these tubs maintain a water temperature between 45 and 55 degrees Fahrenheit, though some can be colder.
Research on cold water immersion therapy is limited, but potential benefits include reduced muscle soreness, decreased inflammation, and enhanced immune support. Some people also use cold plunges for mental health benefits, incorporating mindfulness, meditation, or breathing exercises.
The recommended duration for a cold plunge session varies. Some suggest just a few minutes to avoid risks like cold shock or hypothermia, while others claim a minimum of 10 minutes is needed to gain any health benefits. How cold the water is will also influence how long you should stay in. My advice? Start gradually, similar to strength training, and increase your time safely. Reduce your time for colder temperatures, especially below 40 degrees.
Now, let’s look at how you can build your own cold plunge at home.
DIY Cold Plunge 1: Stock Tank
A stock tank is one of the simplest and most affordable ways to enjoy an ice bath at home. You’ll need a stock tank or water trough large enough to fit you—typically a 100-gallon capacity or larger, which costs around $100. You can find stock tanks at local stores like Tractor Supply; the Tuff Stuff Stock Tank is a popular choice for DIY projects, as is Rubbermaid.
Made from heavy-duty plastic, a stock tank can withstand extreme weather conditions. The main drawback is the maintenance: you’ll need to replace the water after each use and add ice bags to cool the water. Without temperature control or filtration, the water will become stagnant quickly if left unattended.
Here’s an easy way to extend your water’s freshness for a couple of days, but remember, this budget-friendly ice bath will require some effort for each session.
What You Need:
- Stock tank: Aim for at least 100 gallons, more for larger athletes.
- Bags of ice: The amount depends on your desired water temperature.
- Water: Fill the tank with tap water from a hose.
- Waterproof tarp: To keep debris out if you want to save the water for a day or two.
- Brominating concentrate: A common sanitizer for hot tubs to keep the water fresh. Get testing strips to measure the water’s pH.
How To Build It:
- Set your stock tank on level ground and fill it with water.
- Add ice (10 to 20 pounds should suffice, depending on how cold you want the water).
- Step into the tank; you’re ready to cold plunge!
- After use, dump the water by tipping the tank over or using the stock tank’s valve.
Expert tips: To save on ice, freeze water bottles and use them instead. If you want the water to last a bit, cover the tank with a tarp after use and add brominating concentrate (about a half-teaspoon per 100 gallons). Use pH testing strips to ensure the water remains safe.
DIY Cold Plunge 2: Chest Freezer
If you prefer not to buy bags of ice for every session, a chest freezer might be a better DIY option. Though more expensive than a stock tank (around $500), a chest freezer offers insulation and temperature control, allowing you to regulate the water temperature between uses. It also comes with a drain plug.
You’ll need to seal the seams of the chest freezer initially, and this method won’t provide long-term water sanitation. However, the maintenance is straightforward since you won’t need to buy ice each time.
What You Need:
- Chest freezer: Minimum 15 cubic feet, costing around $200-$500.
- Caulking gun and marine sealant: To waterproof the edges and seams.
- Temperature controller: To prevent the freezer from freezing the water (available for about $35 on Amazon).
- Water: From a convenient source, like a hose.
How To Build It:
- Place the chest freezer on level ground near an outlet.
- Seal the seams with marine sealant to prevent leaks, including around the drain plug (but don’t seal it shut).
- Let the sealant dry, then use Flex Seal or a similar product for extra waterproofing.
- Plug the temperature controller into an outlet and connect the chest freezer. Set the thermometer in the tub to maintain your desired temperature.
- Fill the freezer with water, turn it on, and you’re ready to cold plunge.
Other Alternatives
Here are additional ways to personalize your cold plunge build:
- Use a bathtub: If large enough, it can serve as a trial ice bath.
- Take a cold shower: A good way to acclimate to colder water temperatures before full immersion.
- Add a water chiller and filter: Helps maintain water temperature and quality. For non-insulated containers, a more powerful chiller may be needed.
- Use an insulated cooler: Large coolers offer built-in insulation and drainage plugs, though they can be expensive.
Benefits of Cold Plunges
Although research is limited, some studies suggest potential benefits of cold water therapy:
- Reduce pain and inflammation: Similar to a full-body cold compress, it can help manage pain and inflammation.
- Perceived muscle soreness: Cold plunges may help with perceived muscle soreness after intense training.
- Mental health and stress: Cold water immersion may reduce stress, anxiety, and depression, impacting the sympathetic nervous system positively.
FAQs
You may have some questions regarding your DIY cold plunge, so let’s look.
Can I Make My Own Cold Plunge? Yes, you can. The simplest way is to buy a large stock tank, fill it with water and ice, and you’re ready to plunge. Another method is to waterproof a chest freezer and fill it with water, using a temperature controller to maintain a constant temperature.
What Is the Cheapest Way to Make a Cold Plunge? The cheapest way is to use your bathtub, filling it with ice and water. Alternatively, a large stock tank for around $100, plus the recurring cost of ice, is a budget-friendly option compared to commercial cold plunge tubs.
Is a Cold Shower as Good as a Cold Plunge? Cold showers don’t get as cold and don’t fully immerse your body, so they may not offer all the benefits of a cold plunge. However, they are a great starting point for acclimating to cold water therapy before progressing to full immersion.
A Good Cold Plunge

Ice Barrel is a cold therapy training tool that offers an easy way to bring ice baths to your routine that can help you recover like never before.
If you do not want to DIY your cold plunge and want an actual place to do it, Generation Iron team recommends for all of your ice bath needs, which is Ice Barrel.
While it is not as cheap as a DIY cold plunge, Ice Barrel gets the job done. It stands 42 inches high with a width of just 31 inches, making it easy to transport and store. It is still big enough for you to stay in an upright position, rather than a reclined position, which is great for you to fully experience the natural response of forced cold exposure. The design of Ice Barrel also allows you to choose how much you wish to submerge yourself, whether that’s up to your neck and shoulders or even dunking completely in the cold water.
Another thing worth mentioning is the Ice Barrel is eco-friendly, as it is made from linear low density polyethylene (LLDPE), which is a non-toxic, BPA-free, medical-grade material. The barrels are also non-porous, so it won’t absorb oils, toxins or other contaminants
Final Thoughts
Creating a cold plunge at home is feasible and cost-effective. The key steps are:
- Choosing the right tub.
- Waterproofing the tub if needed.
- Adding water and a method to regulate the temperature.
Once set up, you’re ready to enjoy the potential benefits of cold water therapy. Dive in—safely—and start experiencing the rewards of cold plunging.
Let us know what you think in the comments below. Also, be sure to follow Generation Iron on Facebook, Twitter, and Instagram.
Generation Iron may receive commissions on purchases made through our links. See our disclosure page for more information.


")
")
")
")
")


