How to Fix Your Squat
The squat is a pretty straight forward exercise, right? You go down and then come straight back up. Easy! Well yes, but also no, as there is so much more involved regarding the biomechanics.
So today I am going to provide a brief guide as to how you can make some tweaks to your squat in order to optimise this superior compound movement.
One of the issues that some people have when squatting, is over pronation or supination (also referred to as under pronation).
So what is pronation:
Pronation happens naturally because when you walk your feet naturally roll inwards.
But it becomes a problem when you overpronate, meaning your feet roll in excessively, and this causes the arches of your feet to flatten out over time. A clue that you may be overpronating is shown by uneven wear on the inside part of your shoe’s sole.
And what is supination:
Supination (or underpronation) of the foot occurs when your weight rolls onto the outer edges of your feet. So those who supinate do not roll their foot inward enough and it is shown by uneven wear on the outside edges of a shoe’s sole.
So pronation and supination is actually linked to the feet, ankles, knees and hips, and by looking at these different parts of the body should hopefully help get to the bottom of the matter and give you a more optimal squat.
Starting at the bottom…..with the Feet
We are all supposed to have a natural space between the inside of the foot and the floor (aka the arch).
The purpose of having an arch is that it provides support for your body as you move through the day. Flat or high arches can cause extra stress on your muscles and joints. So when squatting the load of a heavy barbell will be partially absorbed through the arch of the foot.
So what do you do if you have no arch or are flat footed?
Quick Fix:
Other than orthotic insoles, a quick fix is a movement where you claw the ground with your toes, so the heel is pressed down and simultaneously your toes are curling into the ground also.
This will essentially create an arch in your foot.
You can practice this as an isometric exercise and when comfortable enough you can use this technique with a loaded barbell.
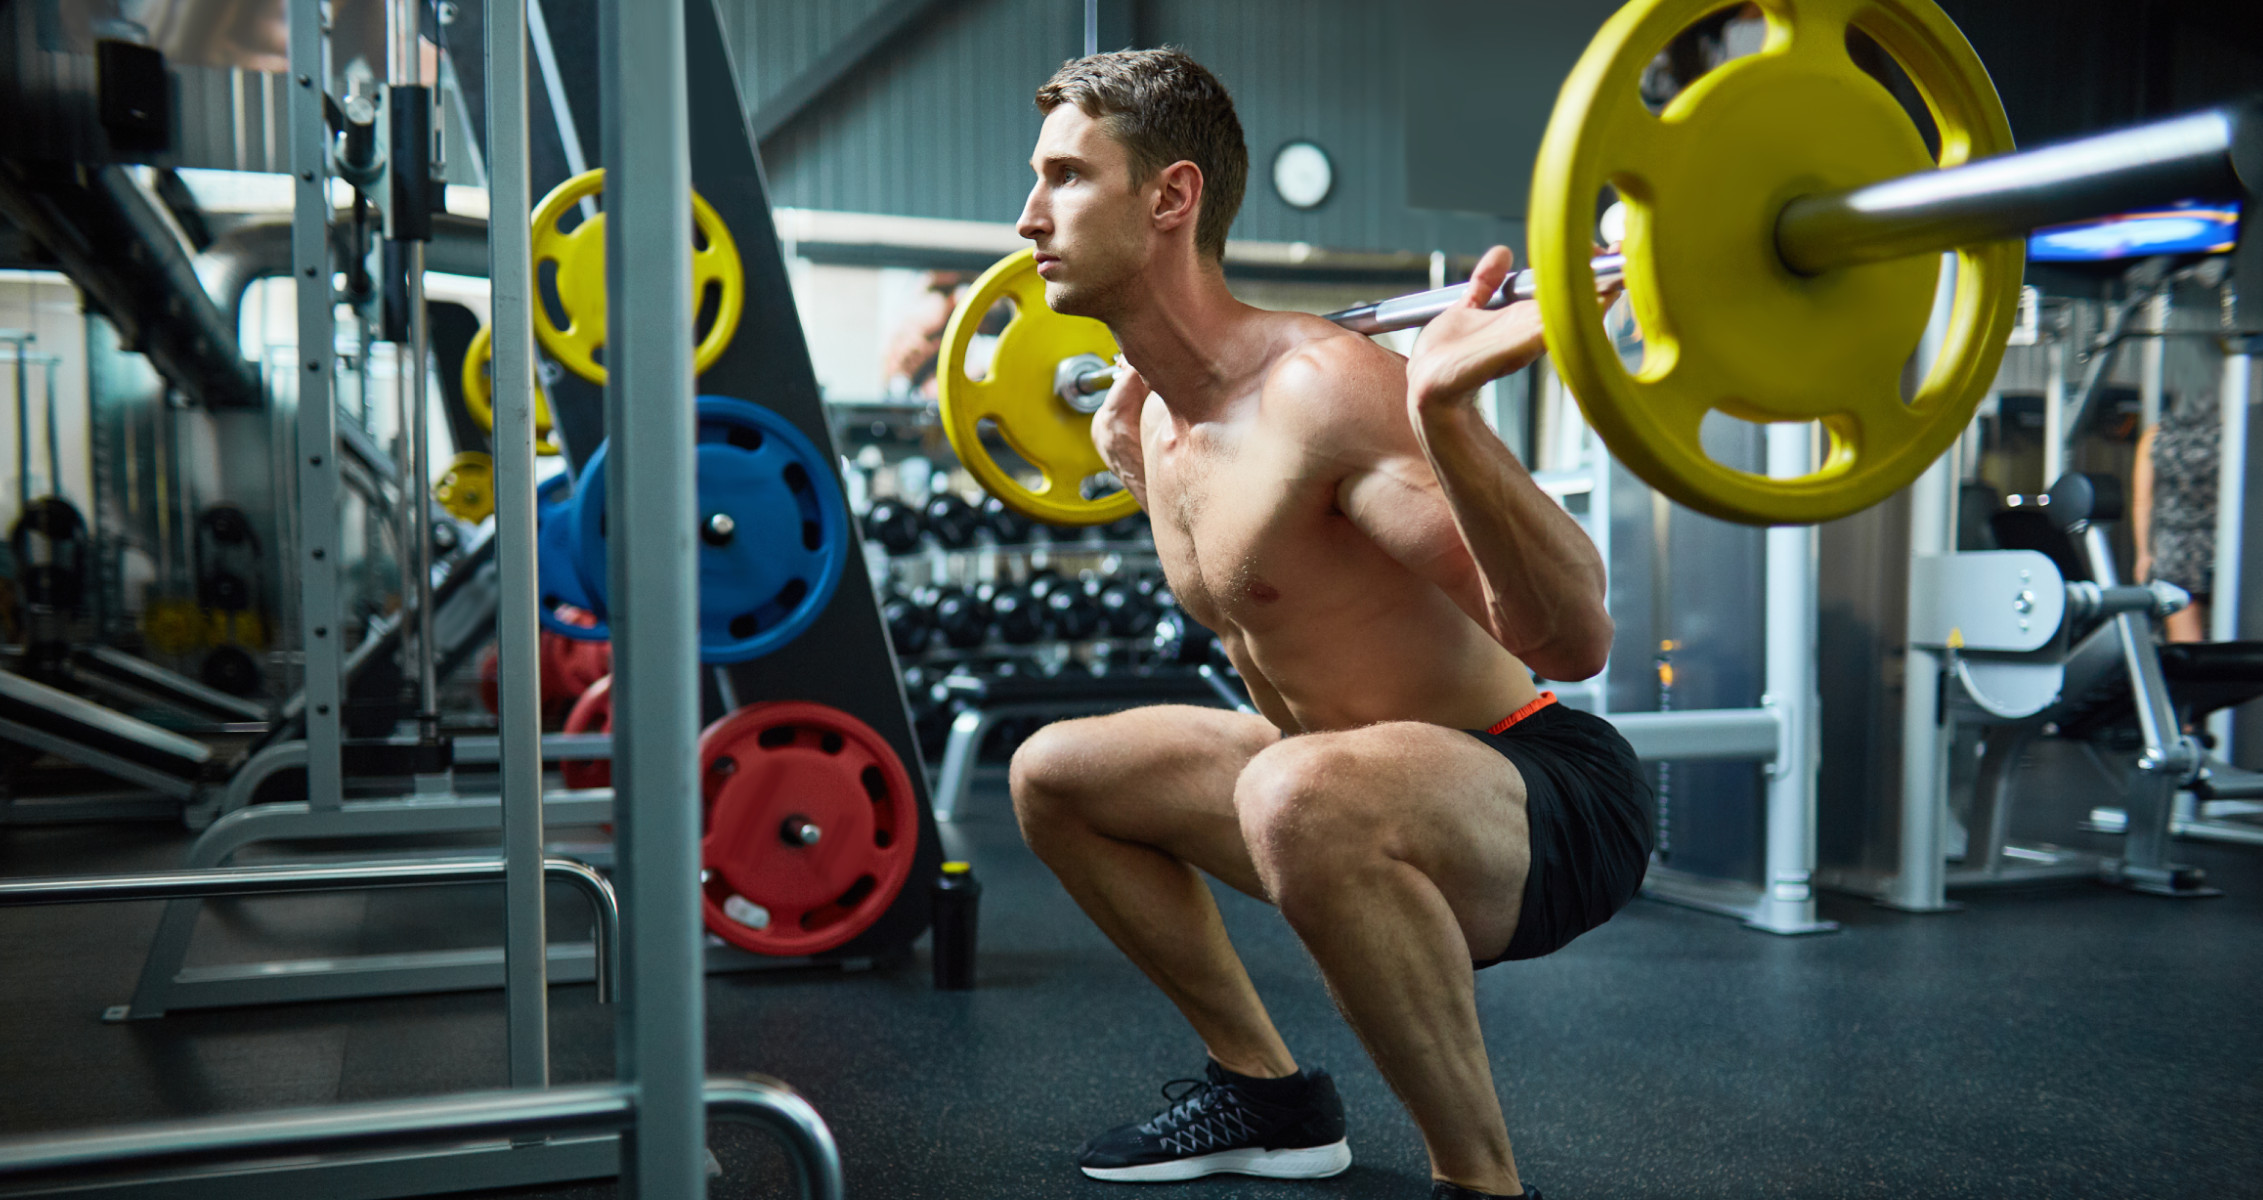
 What about foot placement?
So we’ve all been told at some point to ensure our feet are facing forward, but is that really the best angle? The emphasis should be to place your feet to ensure maximum depth when squatting and to ensure this can be achieved without feeling any discomfort or pain.
So in order to ascertain which stance is best this links to your hips and your hip anatomy.
And Dr Aaron Horschig breaks it down as such, if your ‘hips may be more angled forward, which is called anteversion, or the hips may be naturally more flat in their connection, which is called retroversion.
And you can actually determine your own hip anatomy, as Dr Horshig has devised a technique you can do at home, the seated and prone external and internal rotation test.
Seated Test:
Internal Rotation
So to do the test sit down with feet hanging over chair, move one leg out laterally as far as possible.
External Rotation
Then move the same leg in a medial direction towards you, again as far as possible.
Then for the second part of the test, flip onto your stomach, for the prone external and internal rotation test.
Prone (Lying Down) Test:
Internal Rotation
Move the leg out laterally as far as possible.
External Rotation
Again move the leg in a medial direction towards the other leg.
Conclusion:
If you have Anteversion, it means that you have excessive internal and limited external rotation during both tests.
Optimal squat stance:
Anterversion = so the optimal squat stance is with the feet facing forward.
If you have Retroversion, it means you have excessive external rotation and limited internal rotation during both tests.
Optimal squat stance:
Retroversion = optimal squat stance is with toes slightly outwards, Dr Horschig, recommends placing your feet at that 30 to 35 degree angle.
Now let’s look at the Ankle:
Good ankle mobility means deeper squats, and who doesn’t want that?
As better ankle mobility means that there will be no decrease in power output.
There is a test you can again perform at home to see if you have adequate ankle mobility.
- Standing straight in from a wall
- One foot is 4 inches away from the wall with the other foot behind you
- Make sure the front foot and your knee is straight and pointed forward
- Then make the front foot try to make your knee touch the wall without letting your heel come off the ground or your knee deviate from an otherwise straight path.
And if you are able to do this without your heel lifting or knee deviating or collapsing, then congratulations, you have good ankle mobility.
Remember to test both ankles.
If you don’t have good ankle mobility then fear not, as there are a few simple exercises and stretches that can help:
- Foam Rolling
- Ankle circles
- Heel Drop (on a platform or step)
- Ankle flexion with resistance bands (backward bending / dorsiflexion)
- Toe Heel Walks
 Are you the Bees Knees?
A common issue for some may be that the knees cave in and this could be due to weak glutes and hips
This can create additional strain on the quads and the the anterior cruciate ligament (ACL) at the front of your knee
Similar to my arch tip earlier, a quick tip would be to claw the floor and push the knees slightly out during squatting.
This may help eliminate this issue and add some stability to the movement. But before doing so under a loaded barbell try isometric exercises or even utilize under a smith machine.
Conclusion:
So now take this knowledge and go forth back to the gym, your garage, or bedroom and use these techniques to tweak your squat to make it completely flawless